How do I install Covenant Eyes on an iPhone® or iPad®?
This app is free in the App Store®. Anyone can install it, but only WebChaver members can use it.
- On your iPhone or iPad, find and tap your App Store icon.
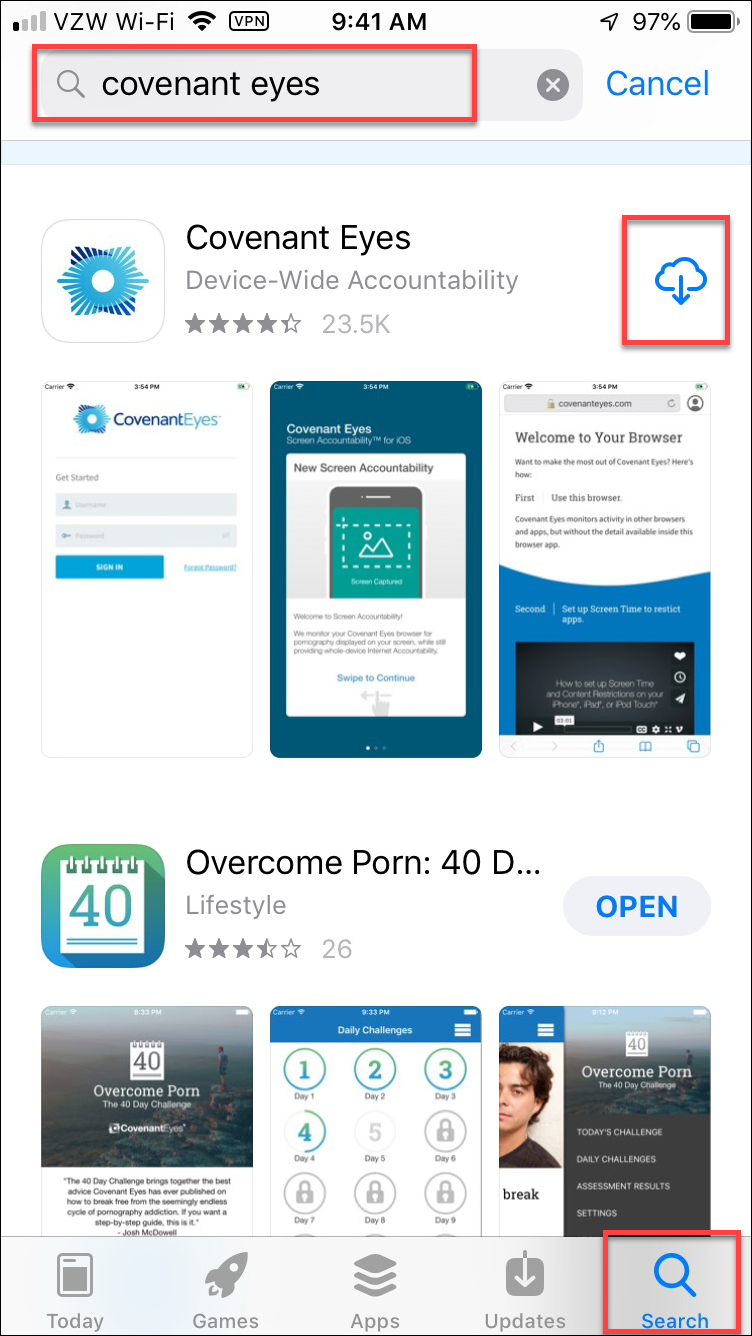
- In the bottom, right-hand corner of the App Store, tap the magnifying glass that
says “Search.” Type “Covenant Eyes” into the search bar
at the top of the screen. In the search results, click “GET” to the
right of the Covenant Eyes, then hit “Install.” You may be asked to
enter your Apple username and password.
NOTE: If Covenant Eyes has been installed before, Apple replaces the word “GET” with a cloud icon that has a downward-pointing arrow in it. You can press that cloud to start the download.
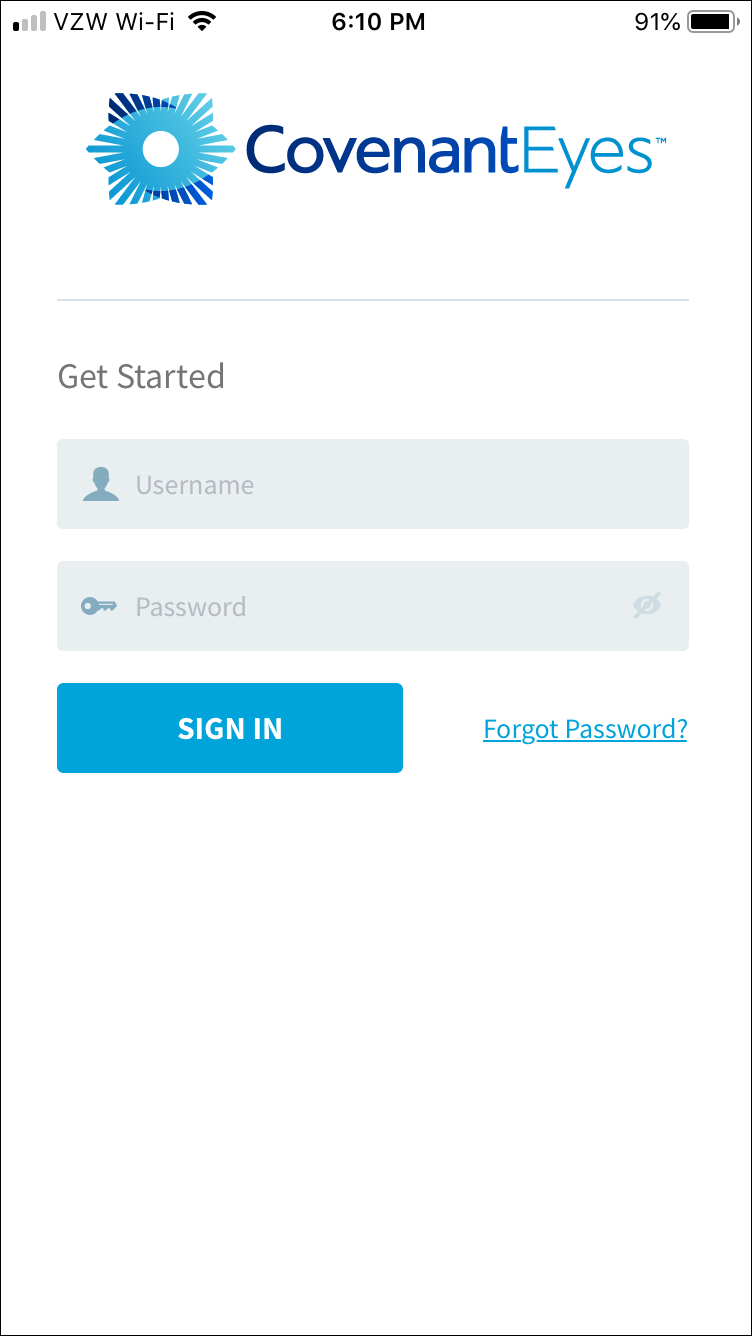
- Once you have downloaded the app, click “Open.” You’ll then be
prompted to sign in with your Covenant Eyes username and password.
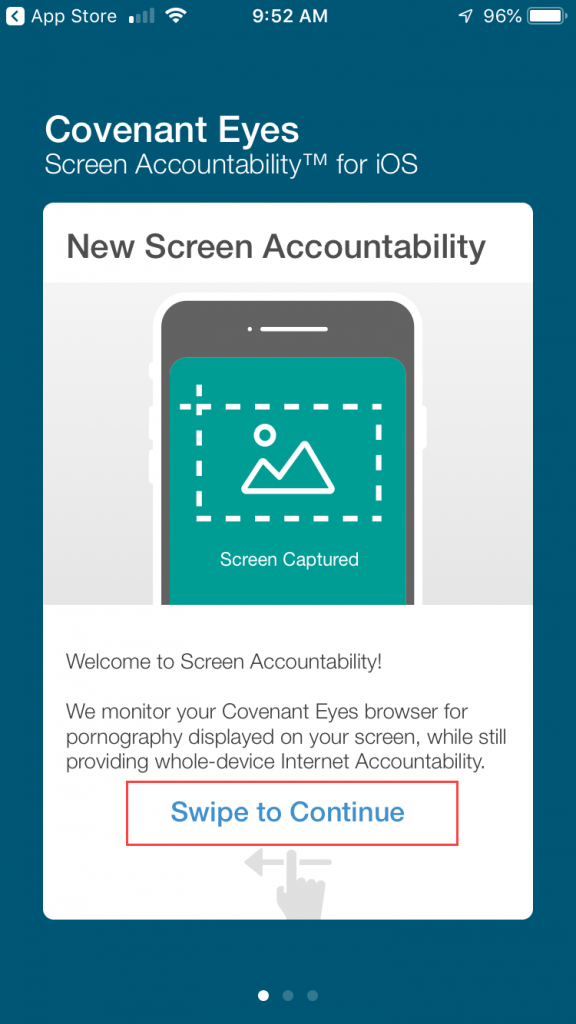
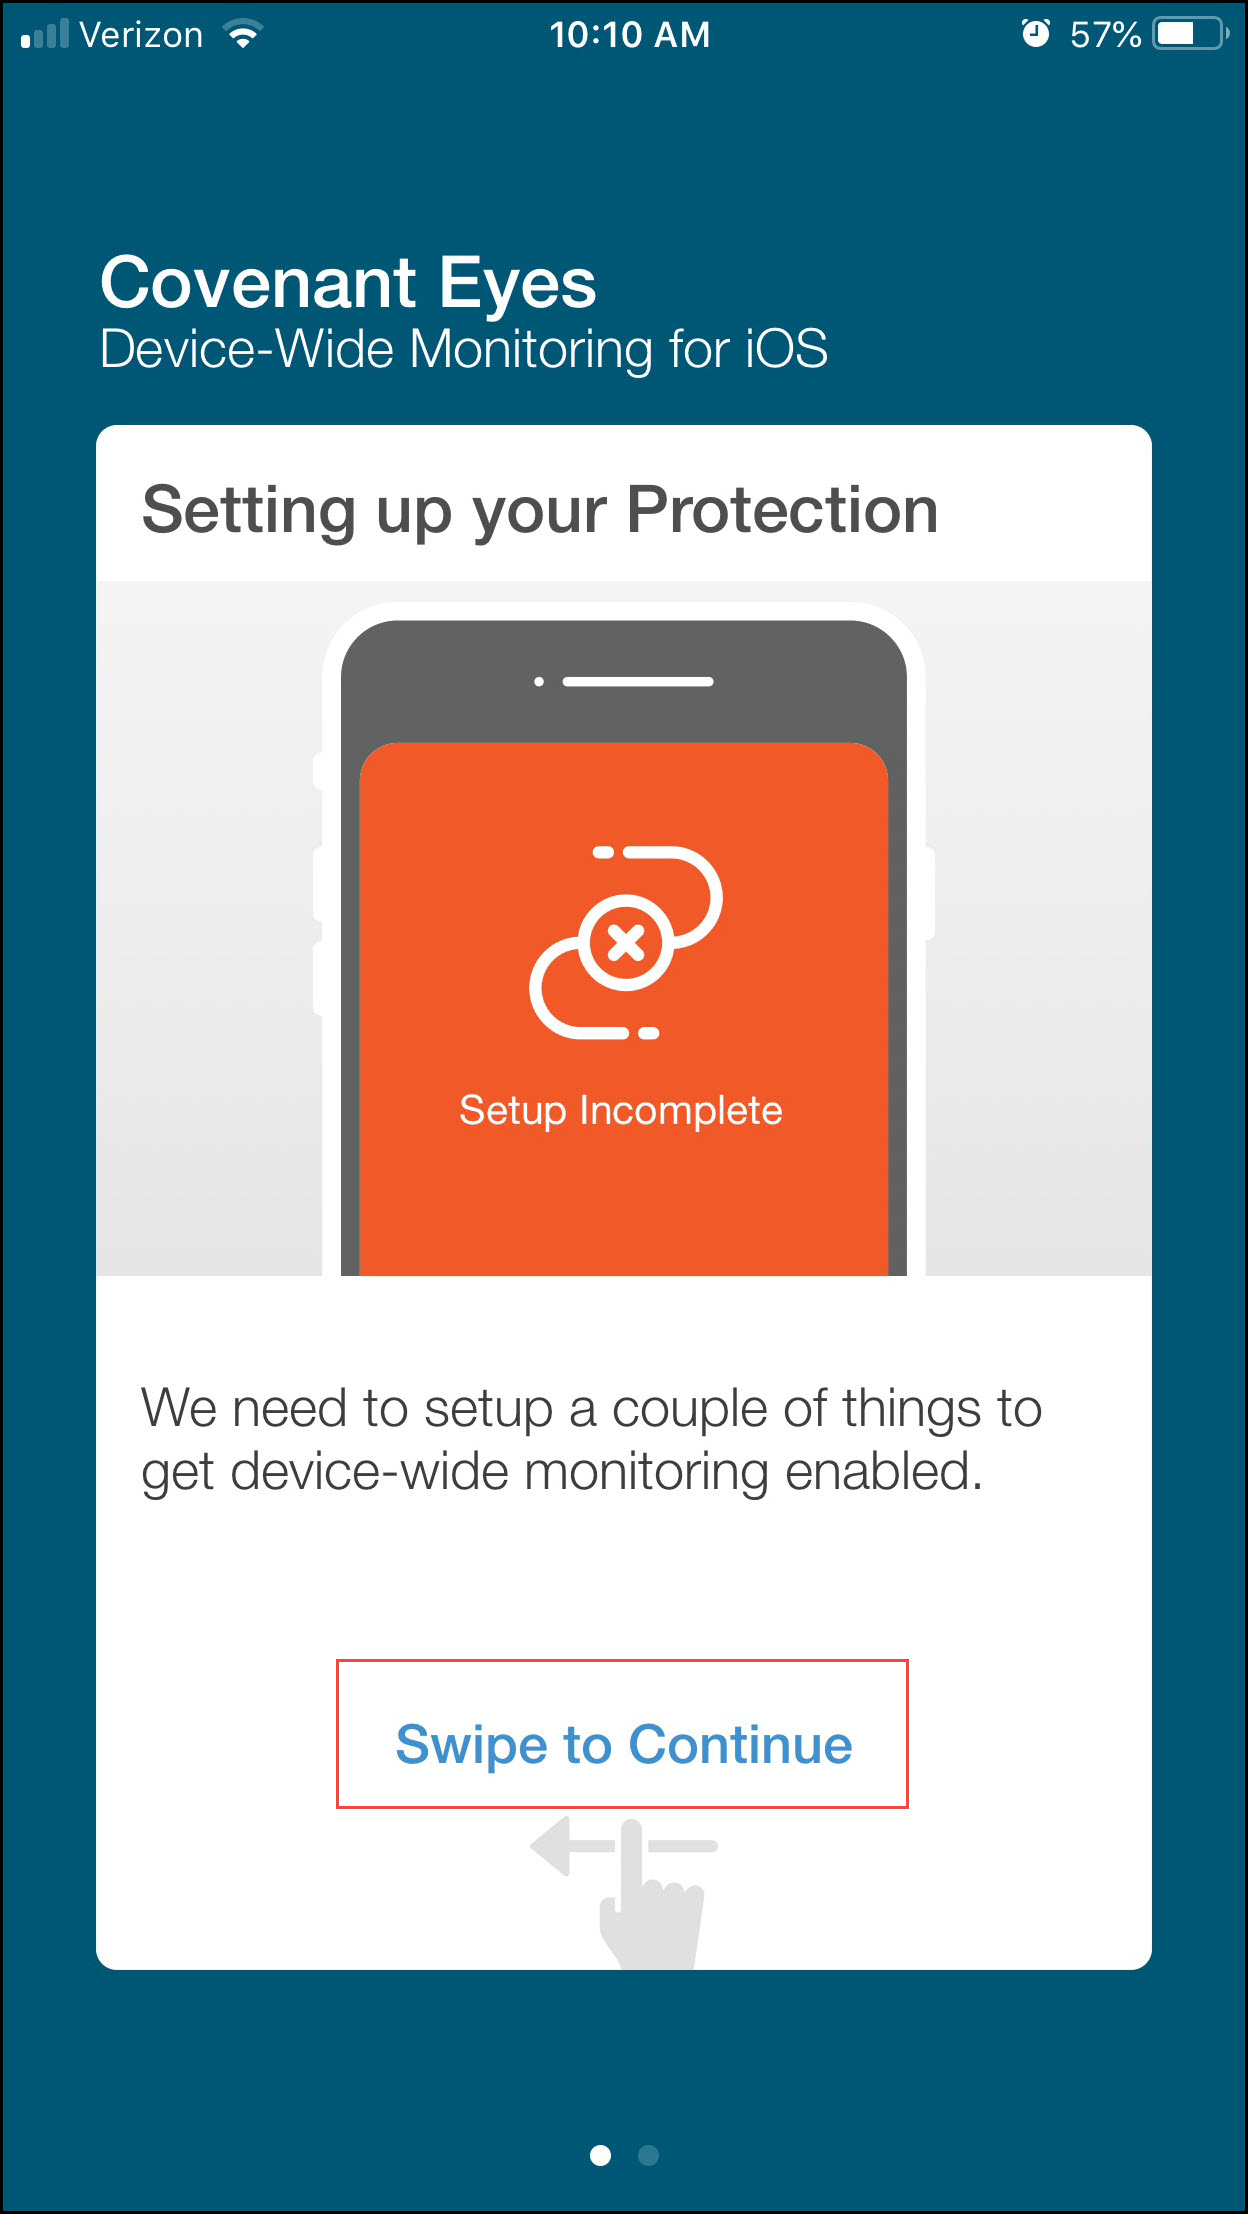
- On both the “Welcome” screen and the
“Setting up your Protection” screen, swipe left to proceed to the
next step.
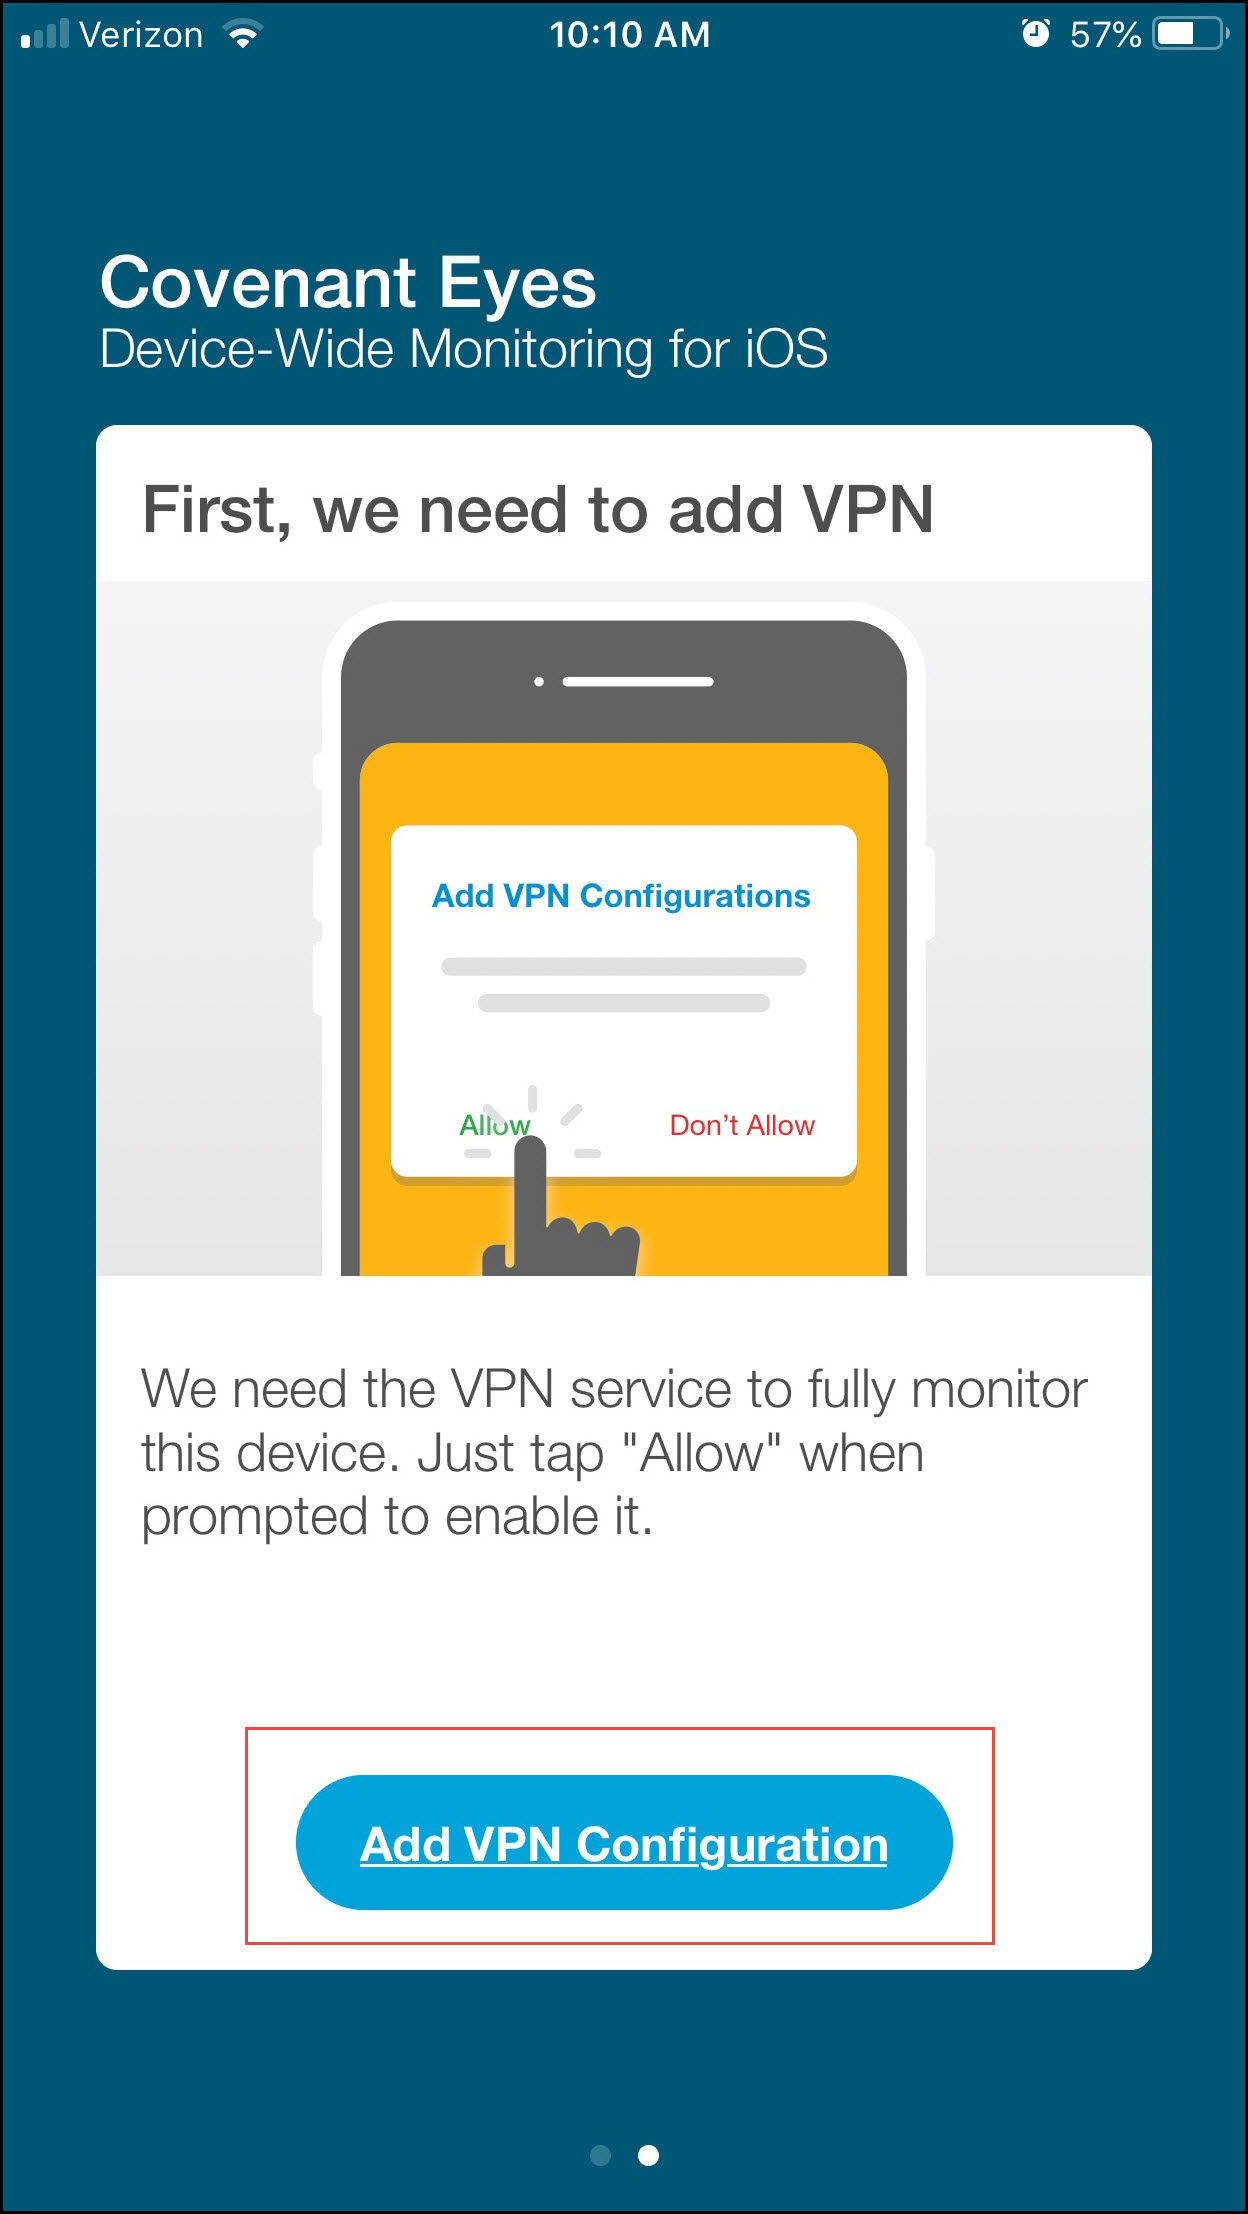
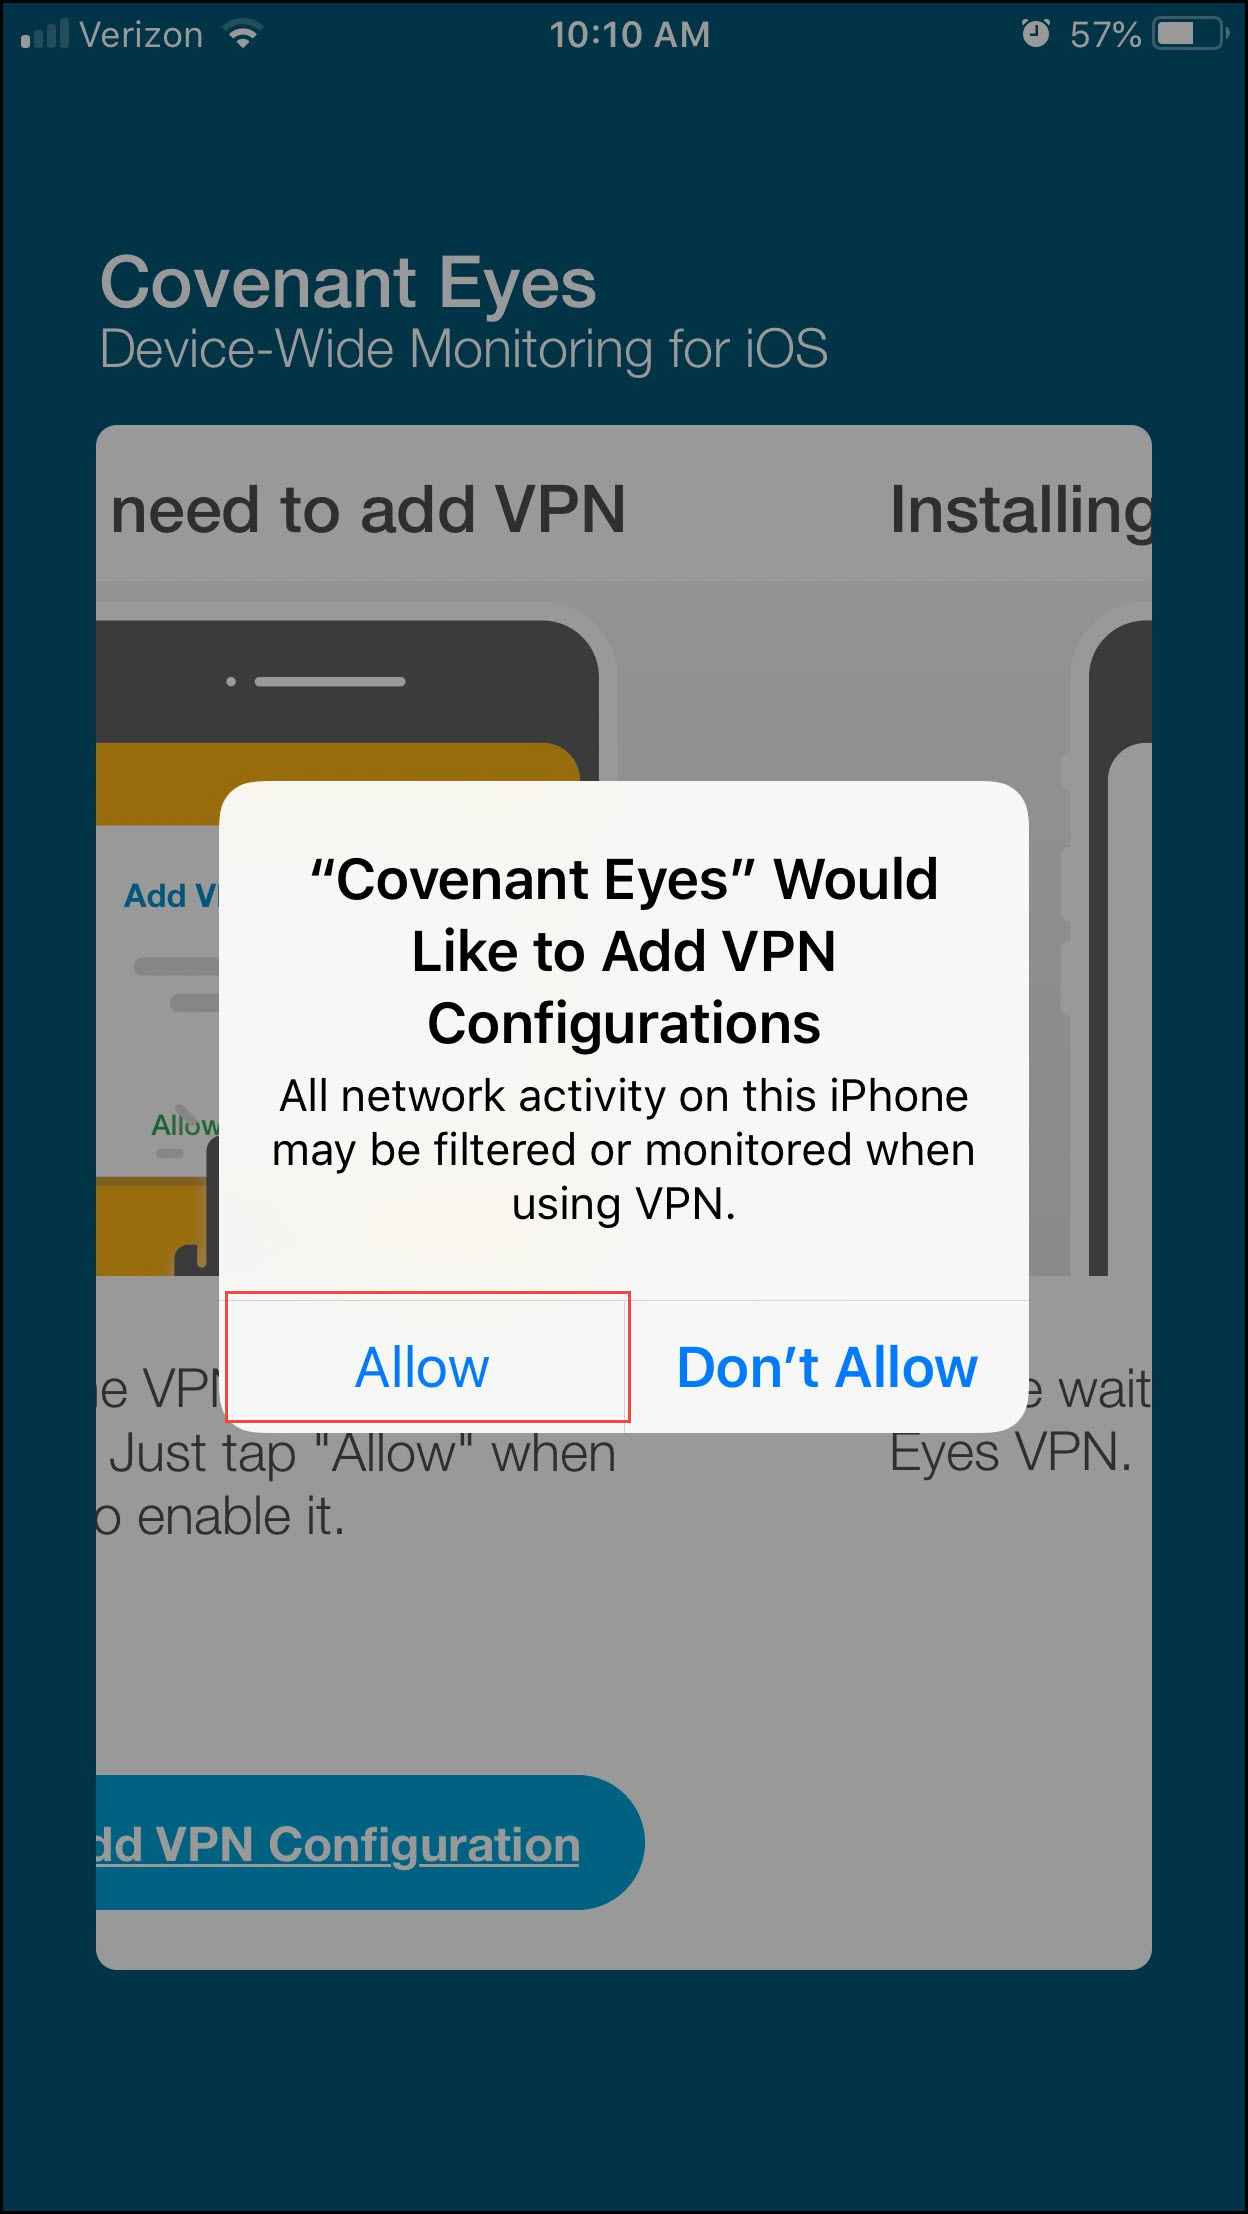
- To ensure protection, the app requires VPN access. Press the blue “Allow VPN
Configuration”
button. A confirmation pop-up will appear, click “Allow.”
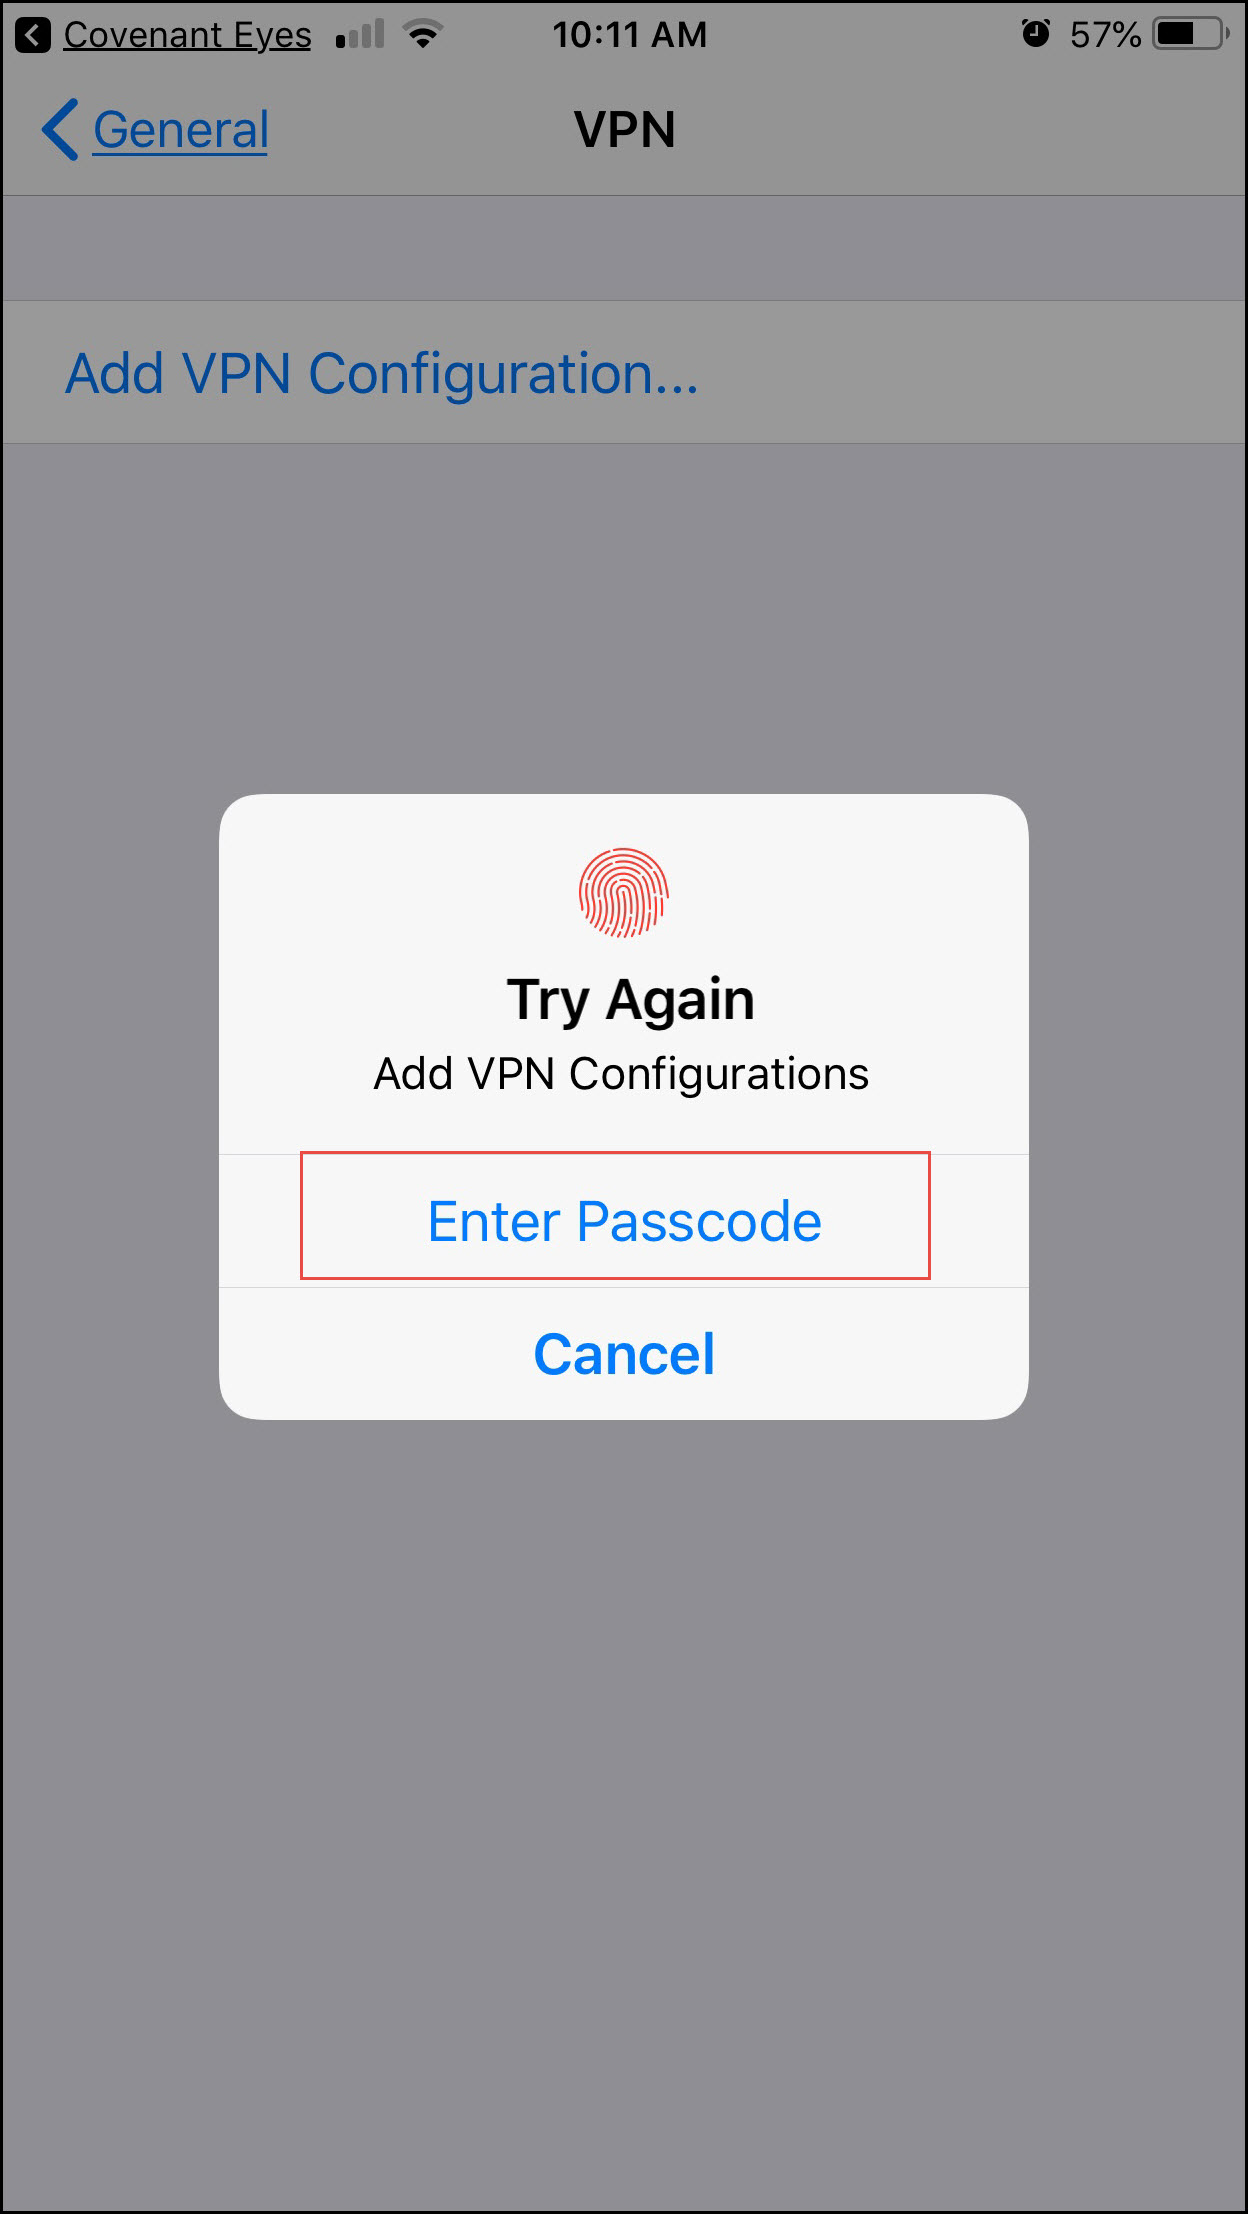
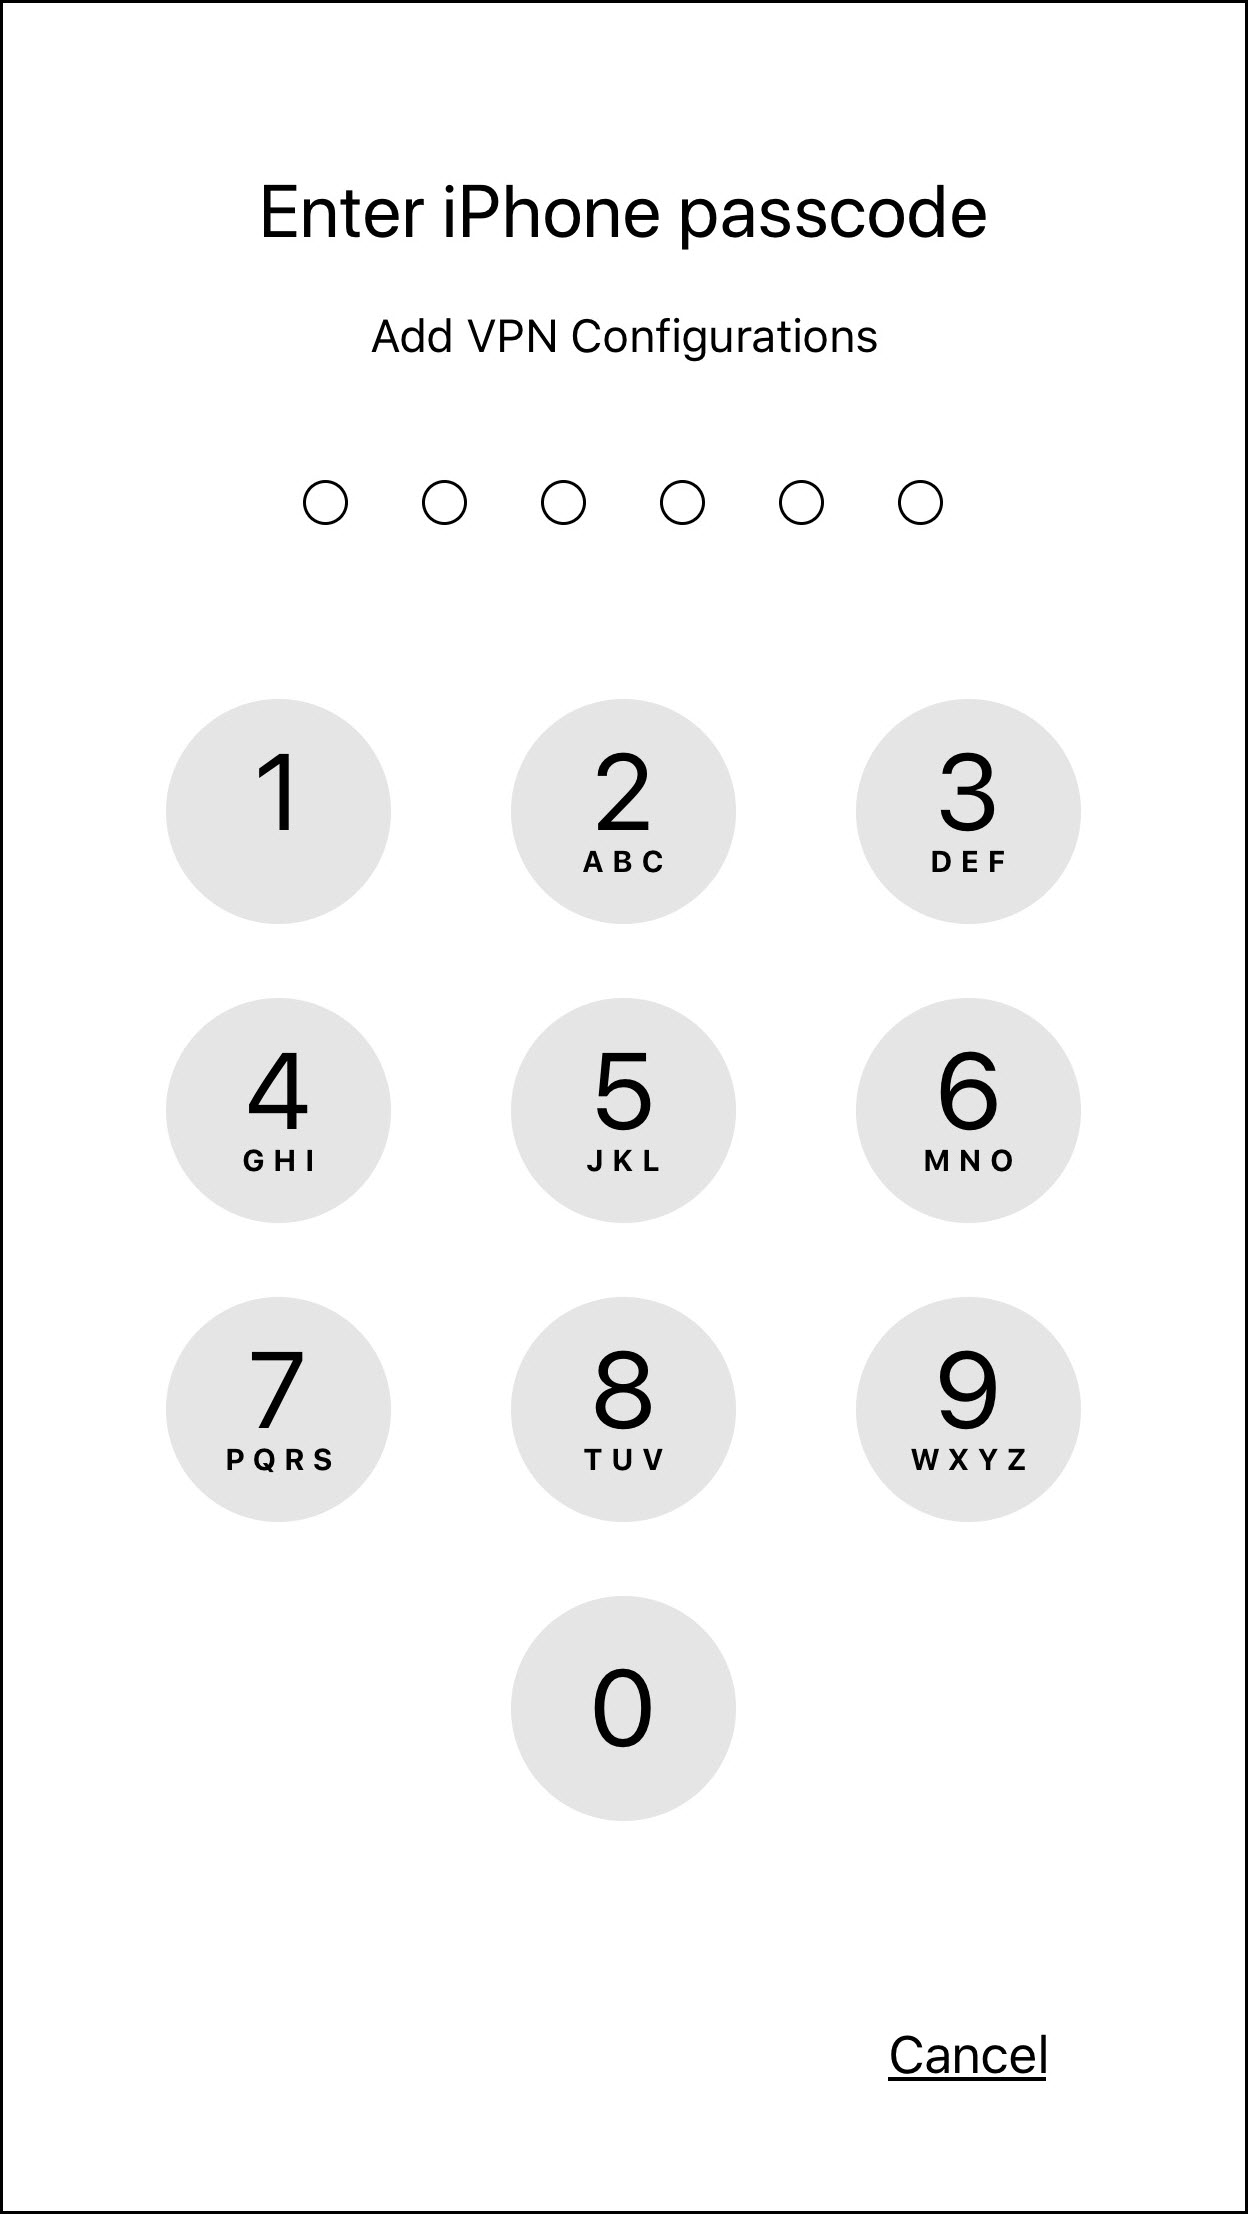
- You’ll then be asked to verify with Touch ID or your Passcode.
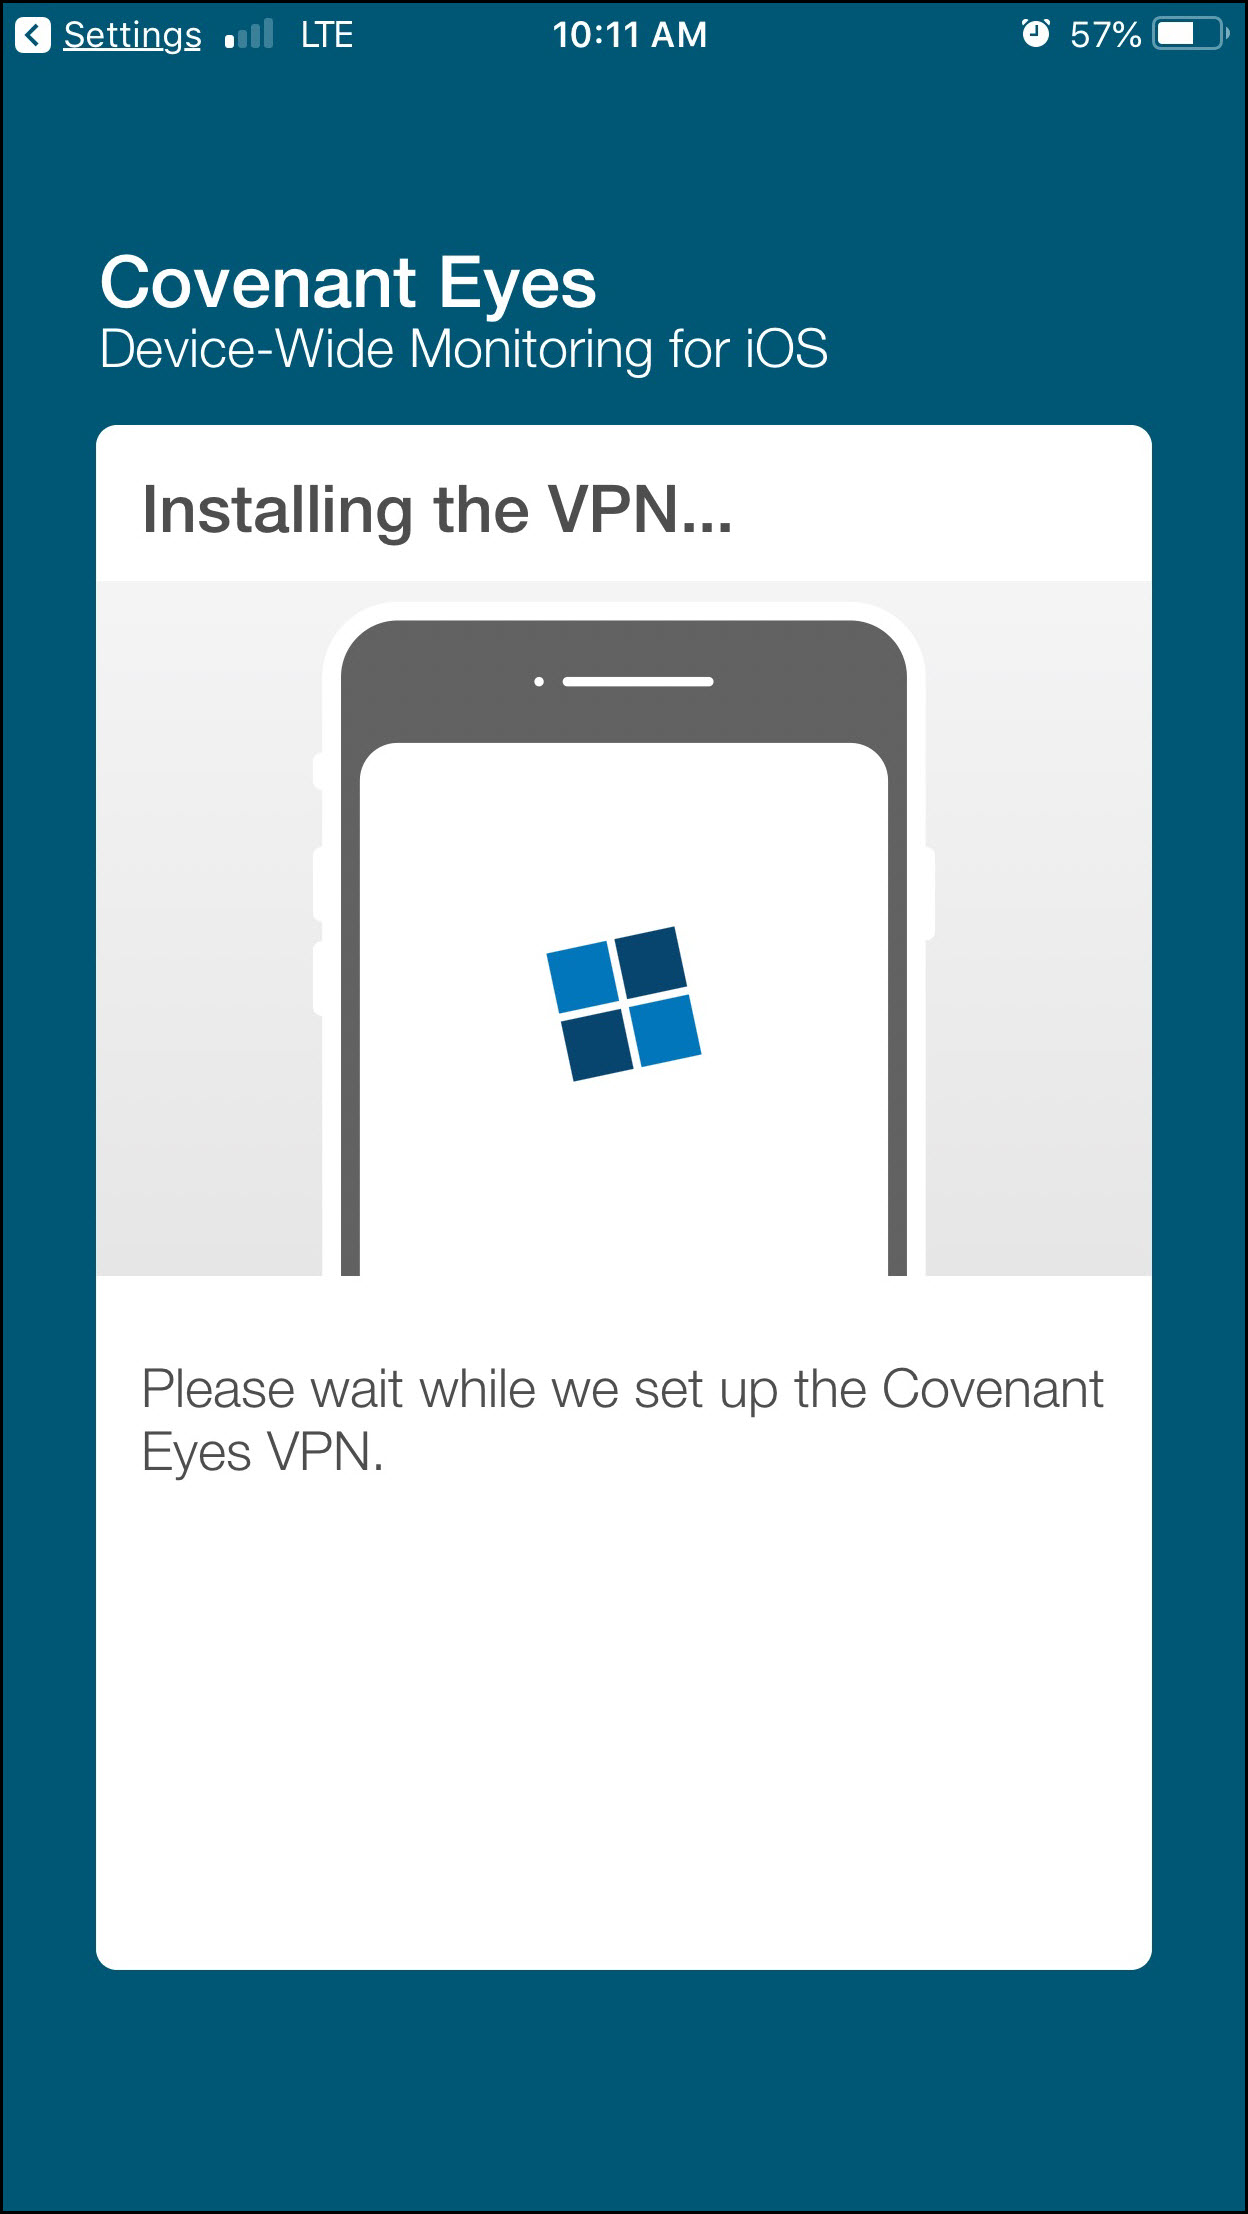
- Once the VPN has finished installing, you will need to allow Covenant Eyes to
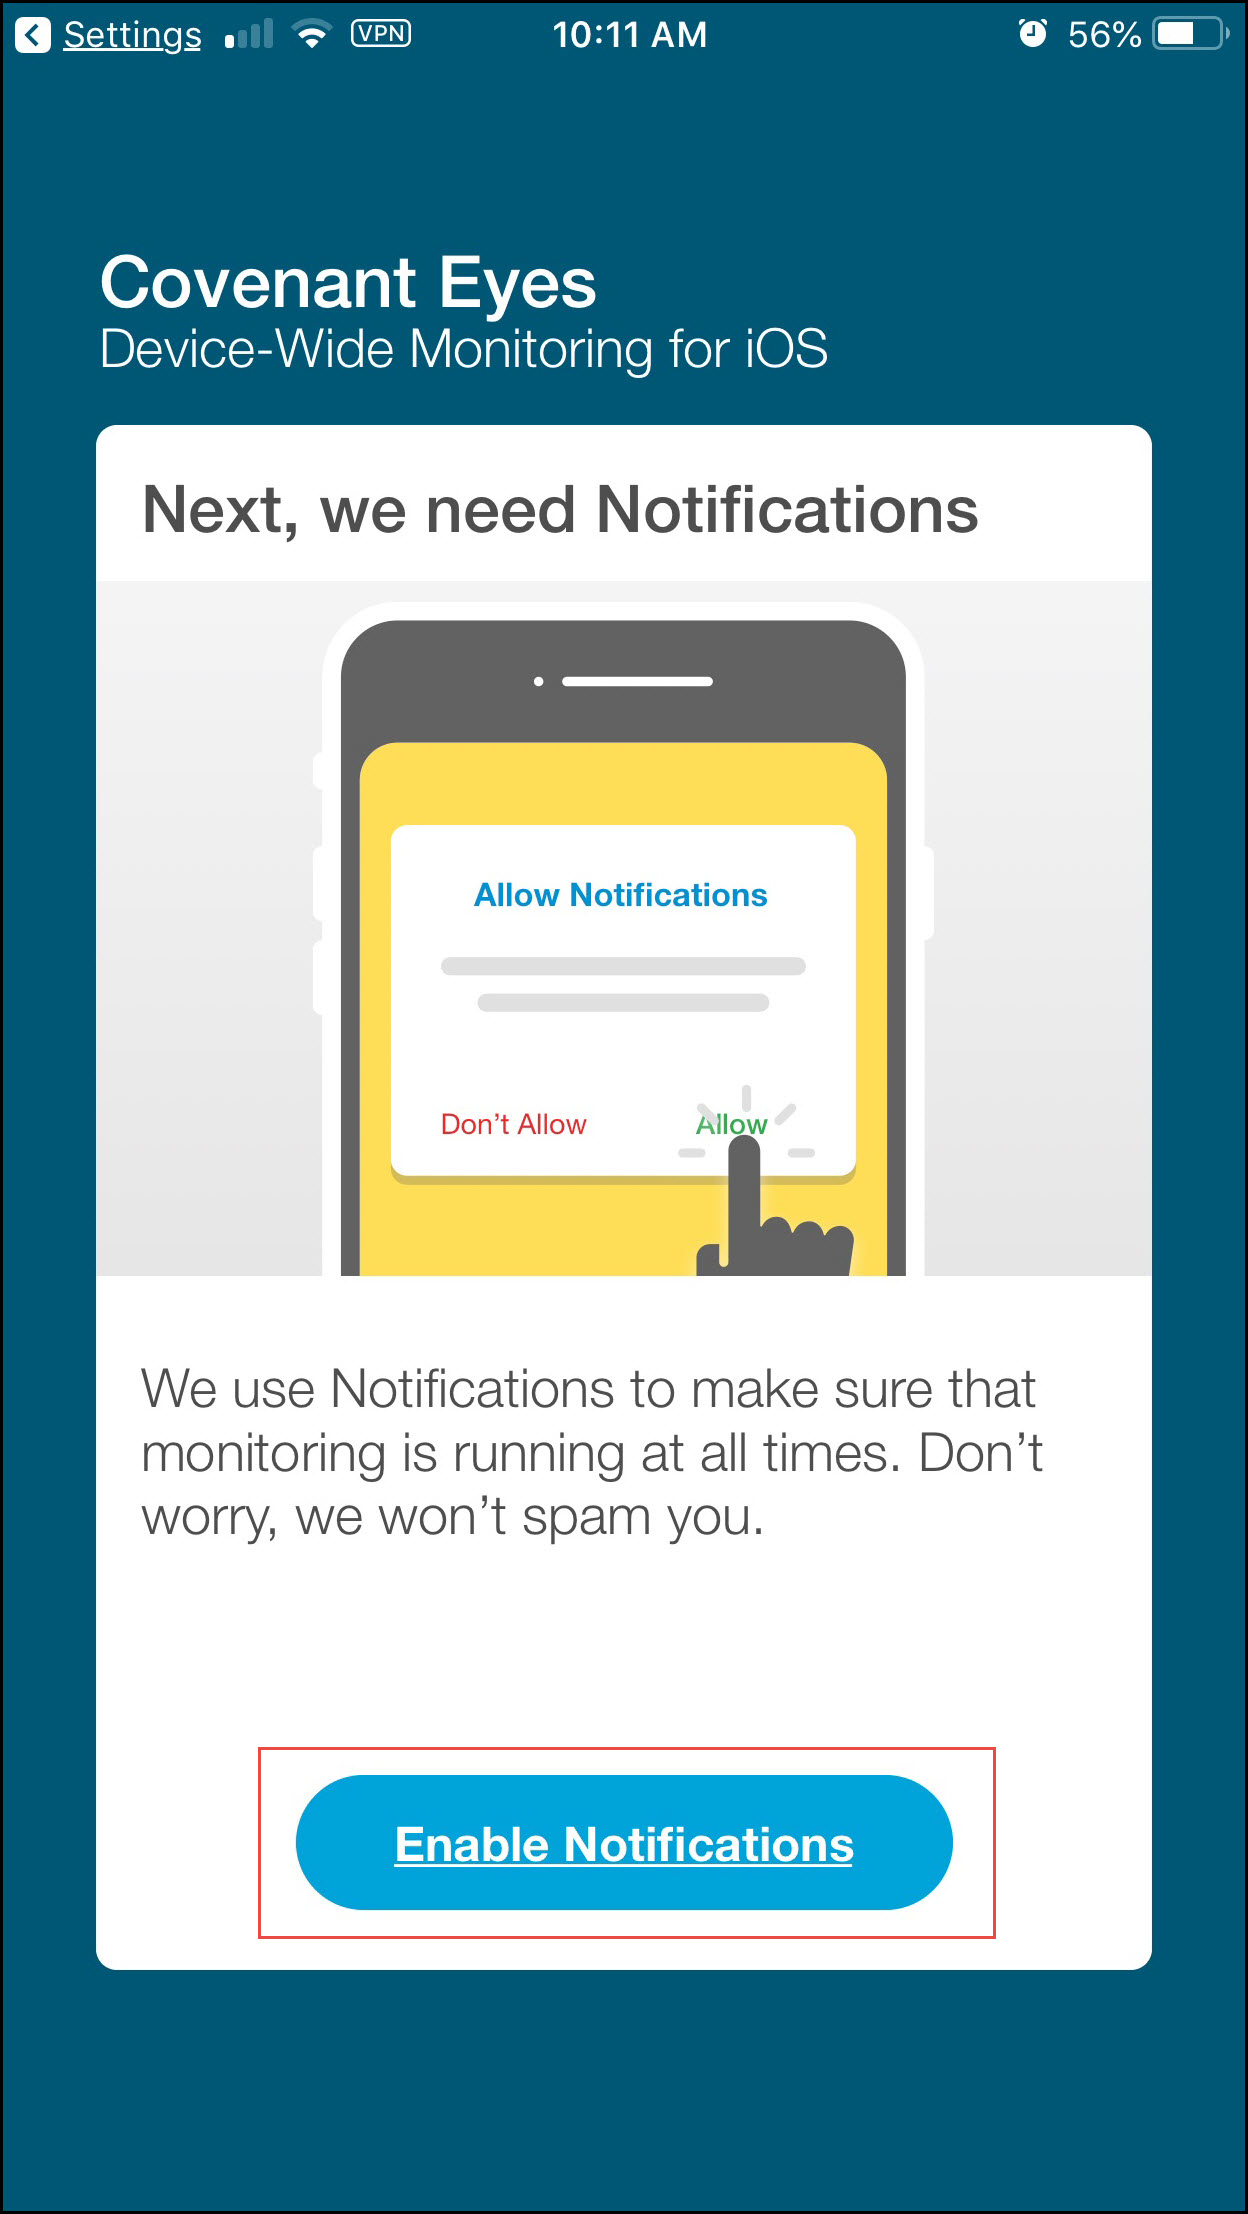
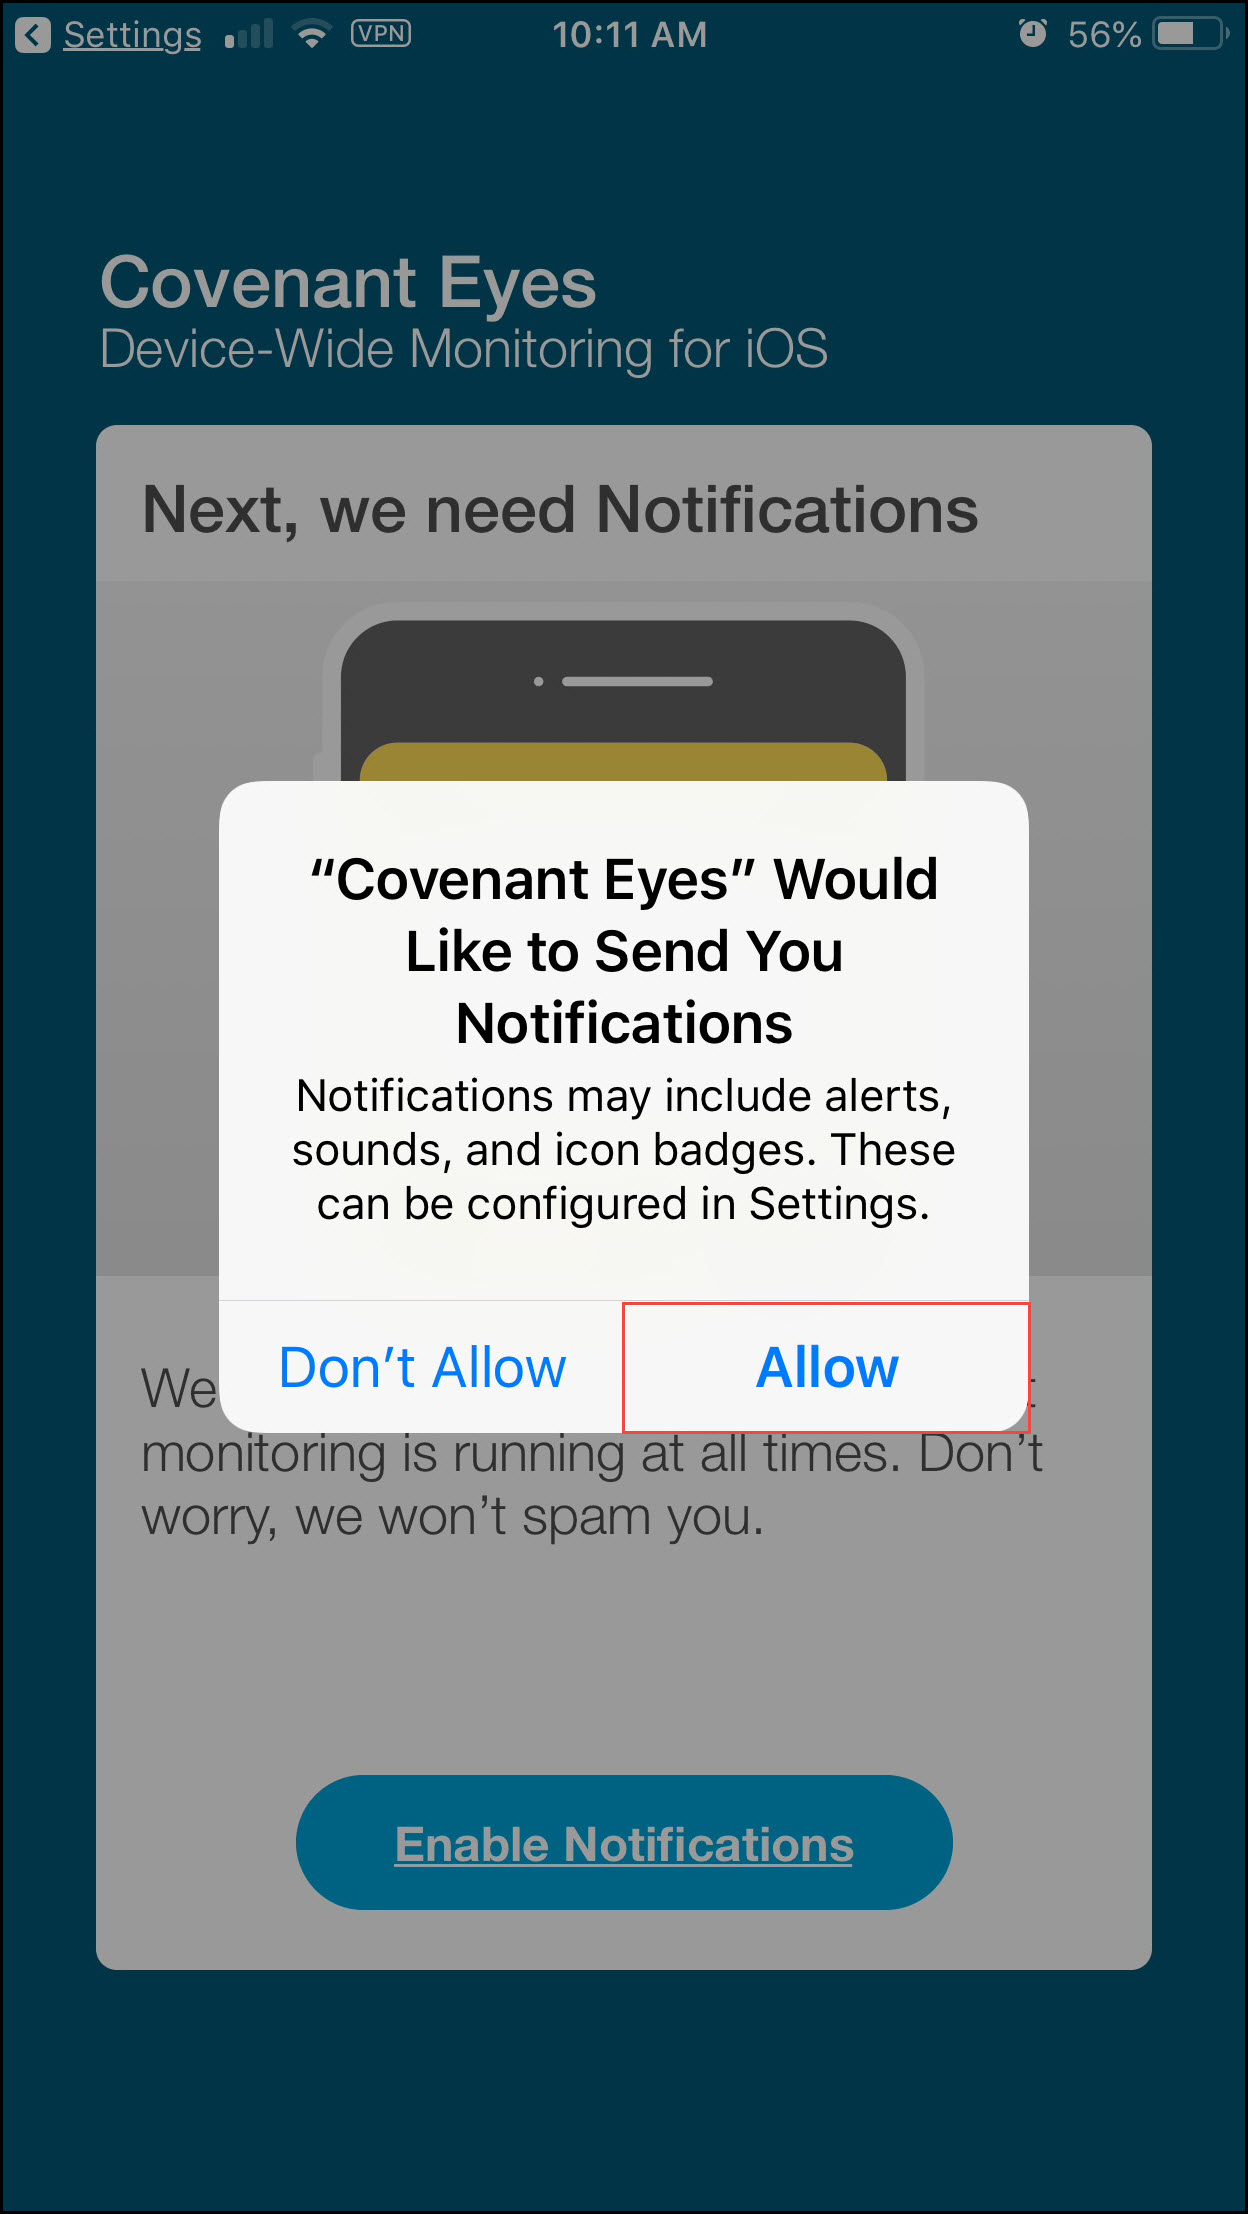
send notifications. Press the blue “Enable Notifications” button. A
confirmation pop-up will appear, click “Allow.”
- Most of the time, this particular setting is taken care of automatically and
behind-the-scenes. So, if the message to enable “Background App Refresh”
does appear, please swipe with your finger to be redirected to your device’s
Settings screen.
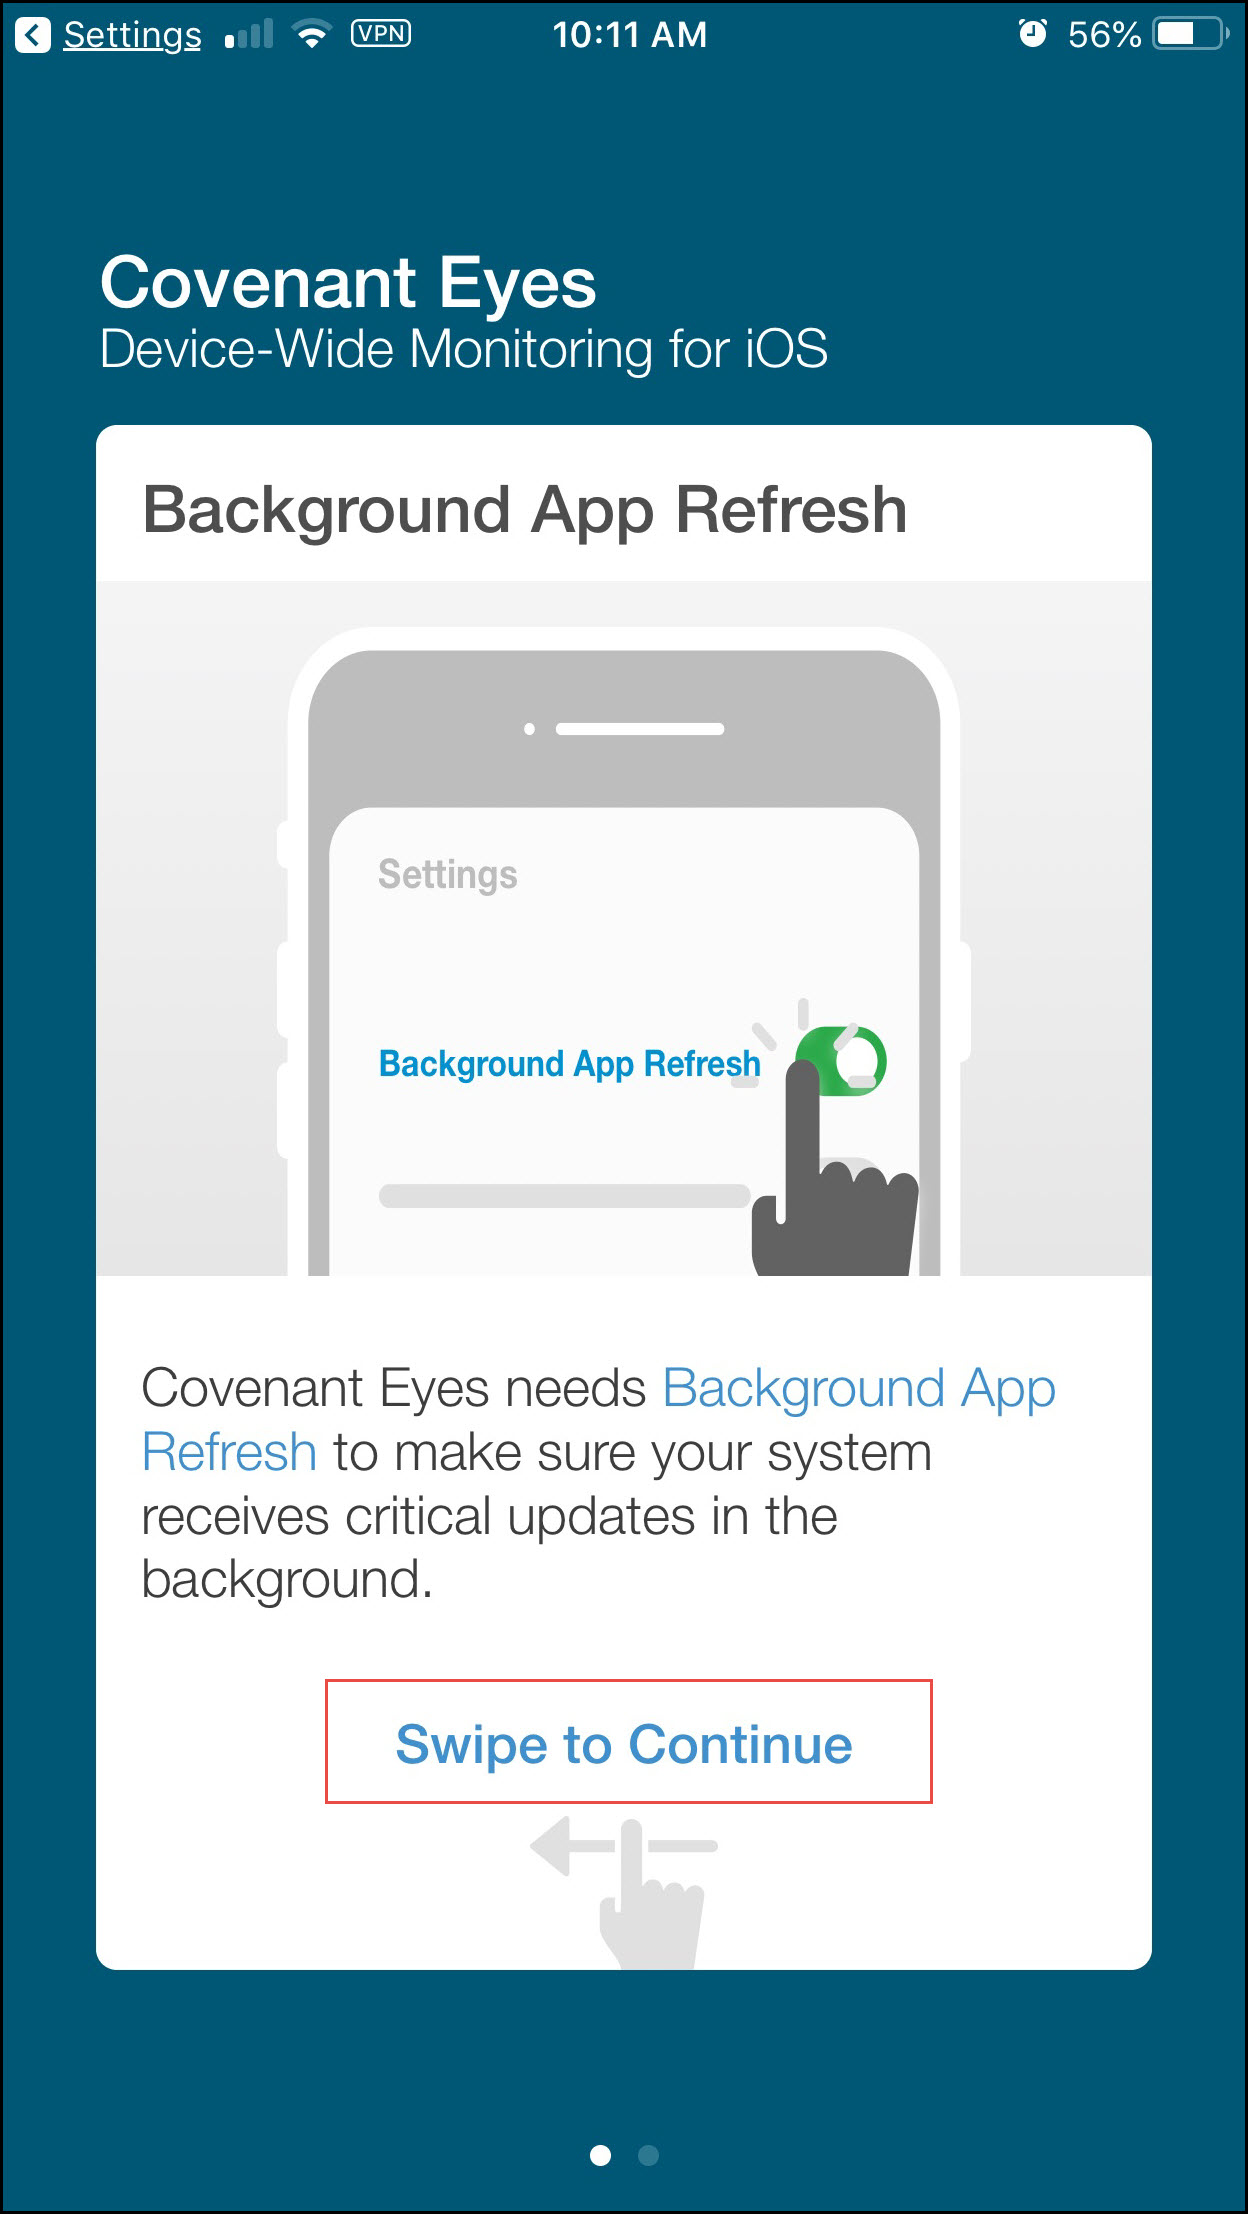
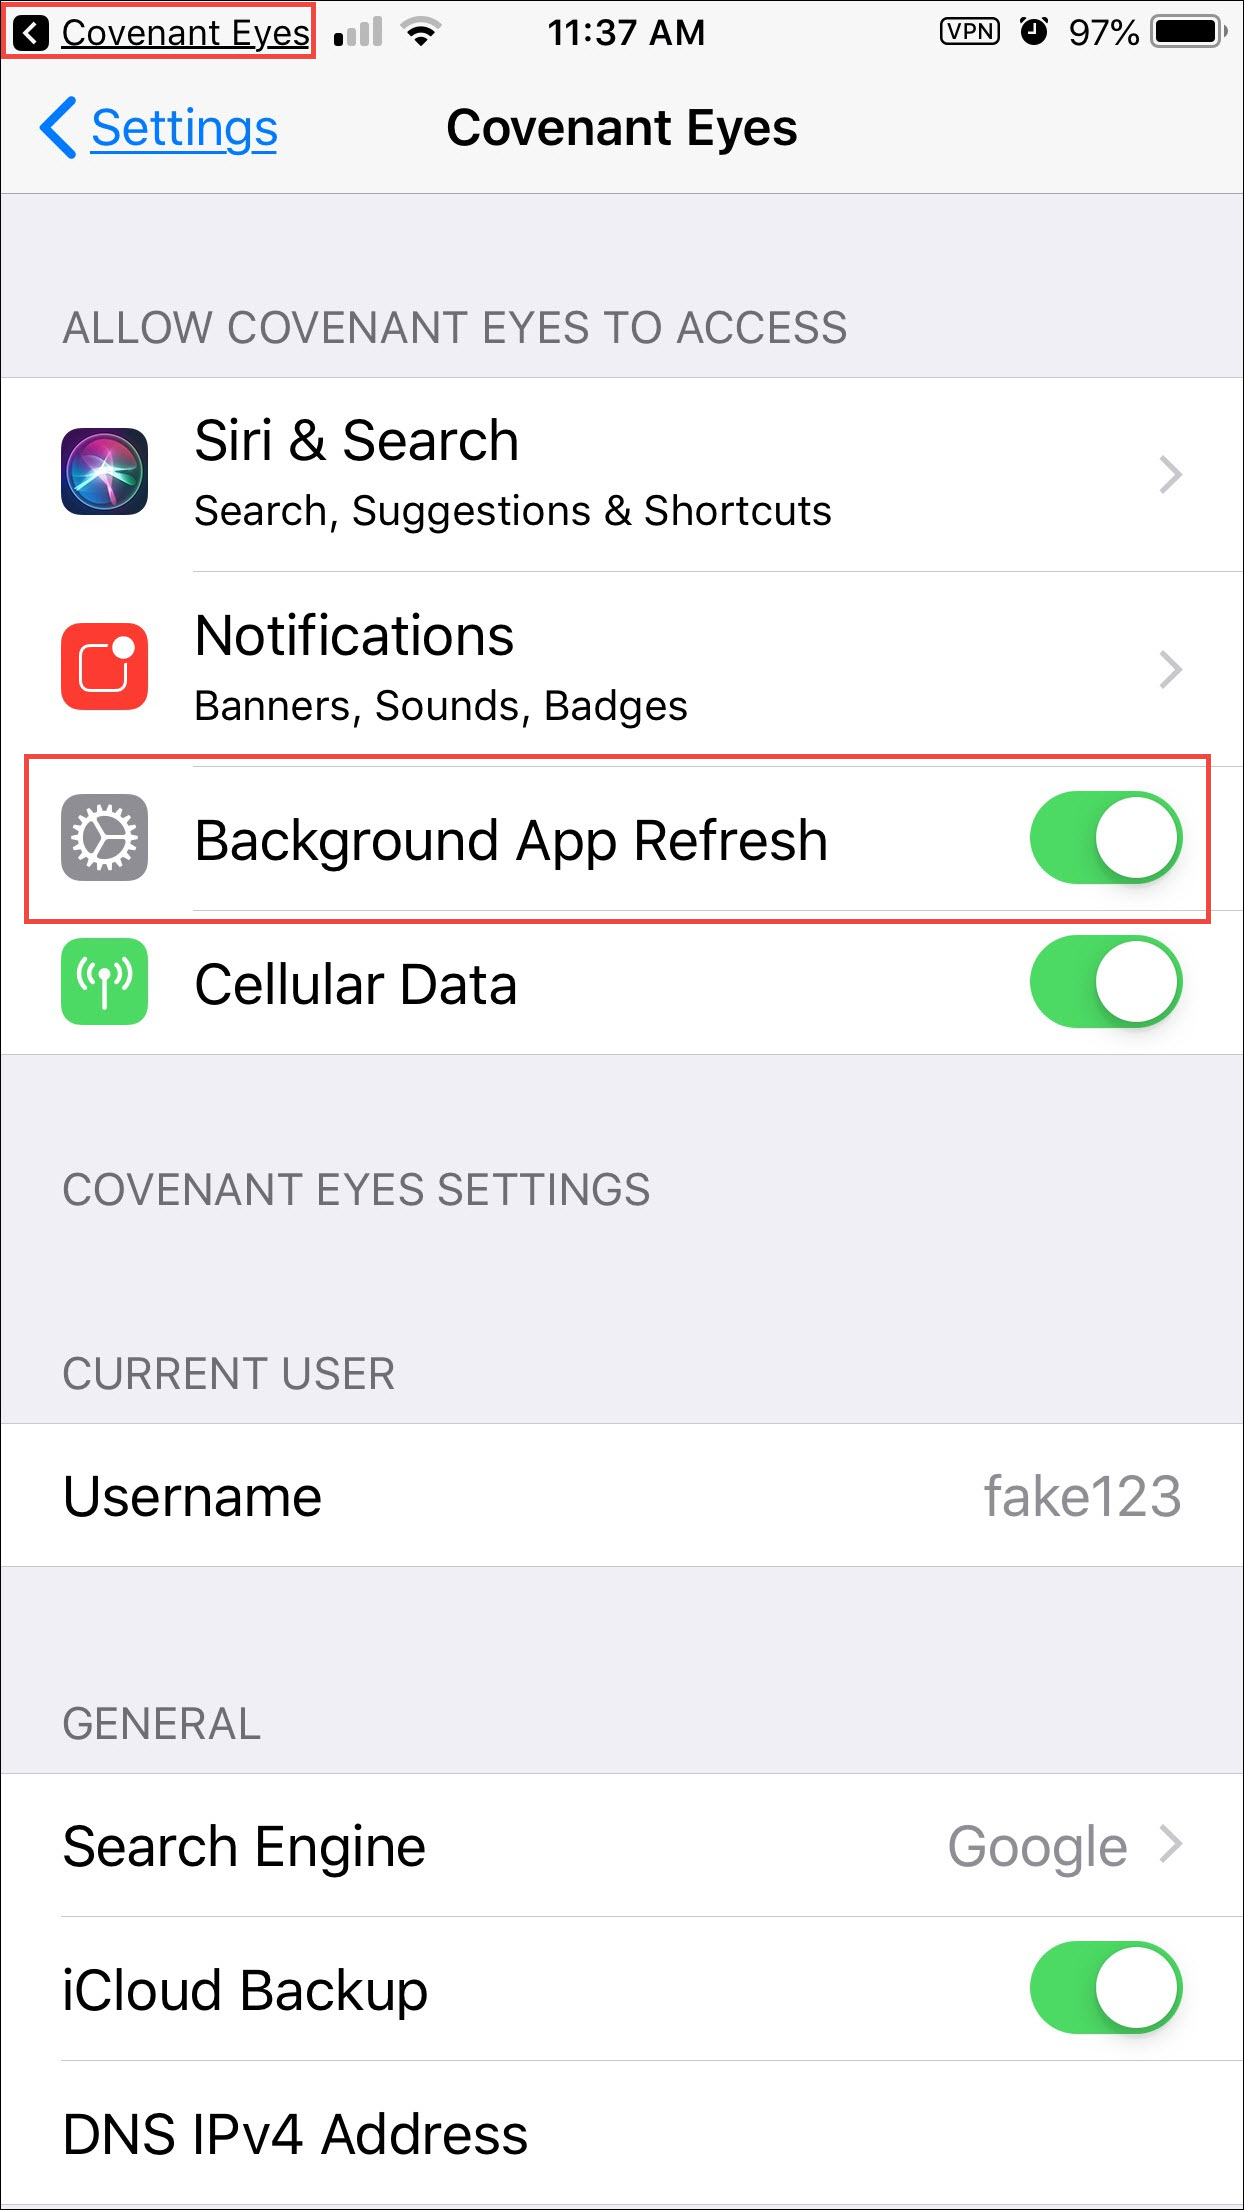
- In Settings, toggle the switch for “Background App Refresh” on (it
will turn green). Then click “Covenant Eyes” in the top left to be
redirected to the installer.
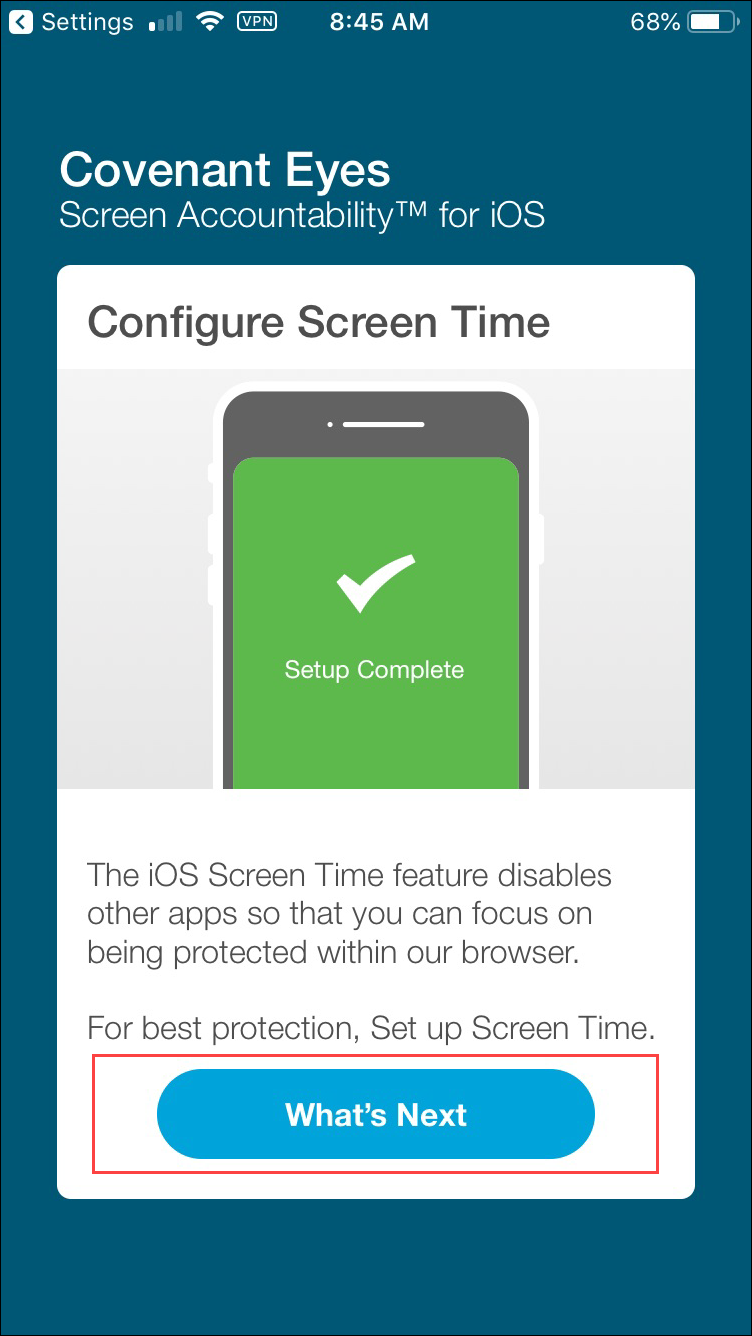
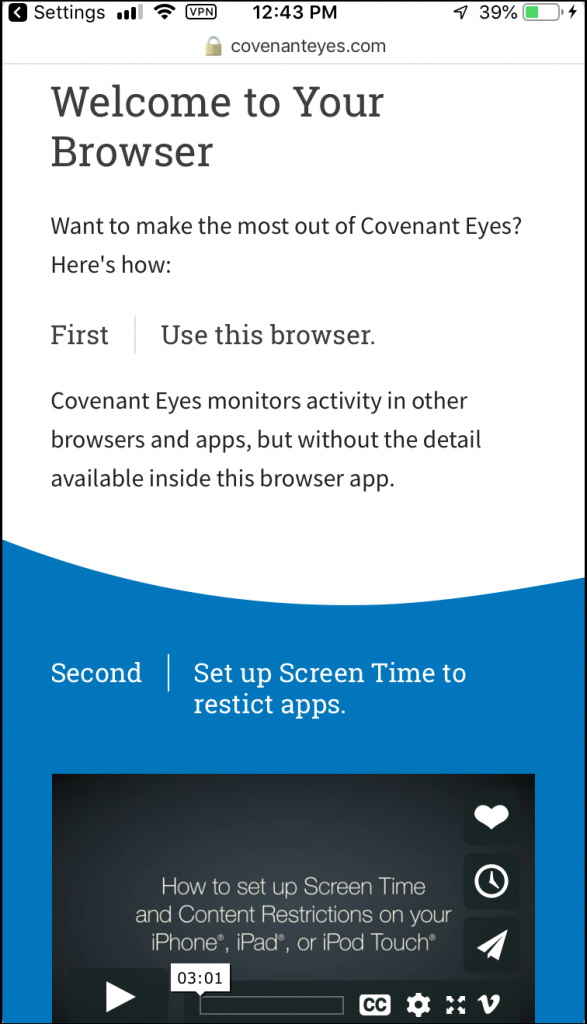
- When you press the blue “Finish” button, the installation screen
will disappear and the Covenant Eyes browser will be ready for action!
JavaScript is off. Please enable to view our full site.
